There are several methods available to us that allow us to take screenshots on our devices. To keep it simple for now, I will only be going through a couple methods that just use the apps/functions built into Windows 11.
Snipping Tool
The Snipping Tool app is still around and still one of the most reliable ways to take a quick screenshot.
Quick Tutorial
- Use the keyboard shortcut: Start ⊞ + Shift + S.
- Click and drag over the part of the screen you want to screenshot.
- Snipping Tool will automatically save the screenshot to your Pictures Library folder within the Screenshots folder.
Detailed Steps
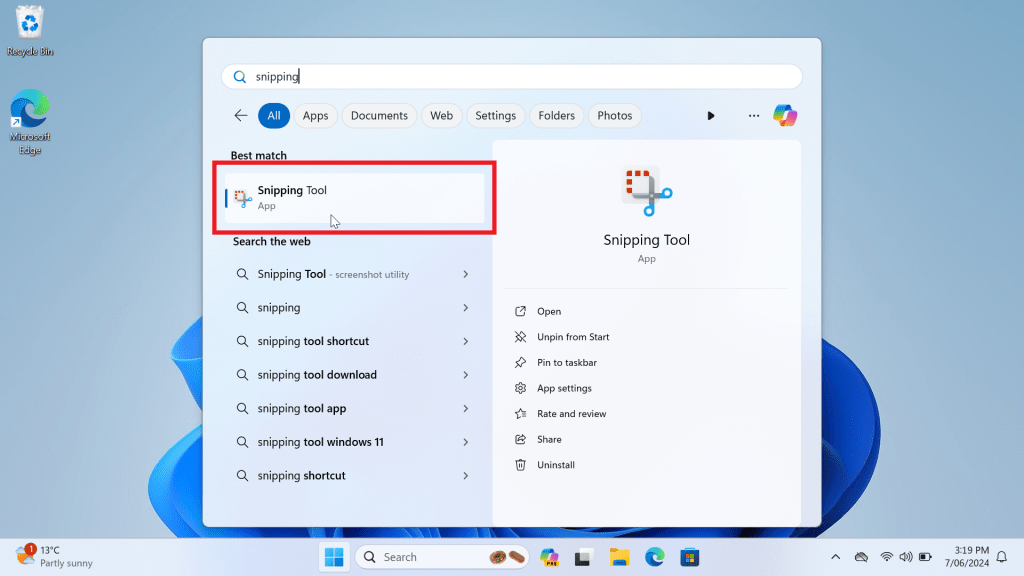
Click the Start ⊞ button and type in “Snipping” to search for the app. Select Snipping Tool when it appears.
The Snipping Tool window will open. Click the New button in the top left of the window to begin taking a screenshot.
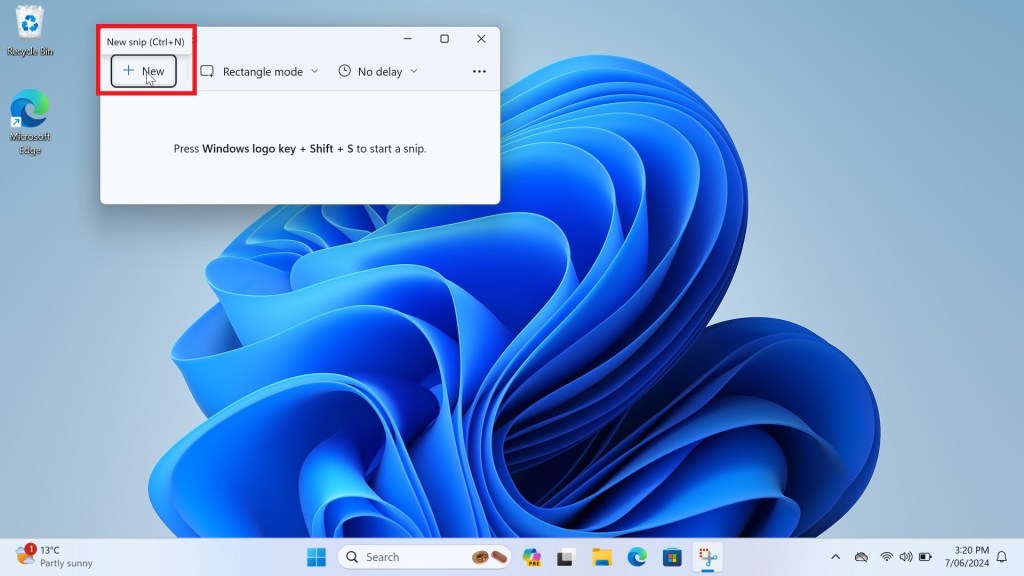
The entire screen will dim. Once this happens, you can move your cursor to the top left corner of the section you want to screenshot, then click and drag your mouse over the whole section you want to take. You will notice your selection will be highlighted.
The Snipping Tool window will appear again, now with a preview of the screenshot you took. Here you can add further text or doodles to the screenshot using the tools at the top of the window (you may need to increase the size of the window if you are unable to see them).
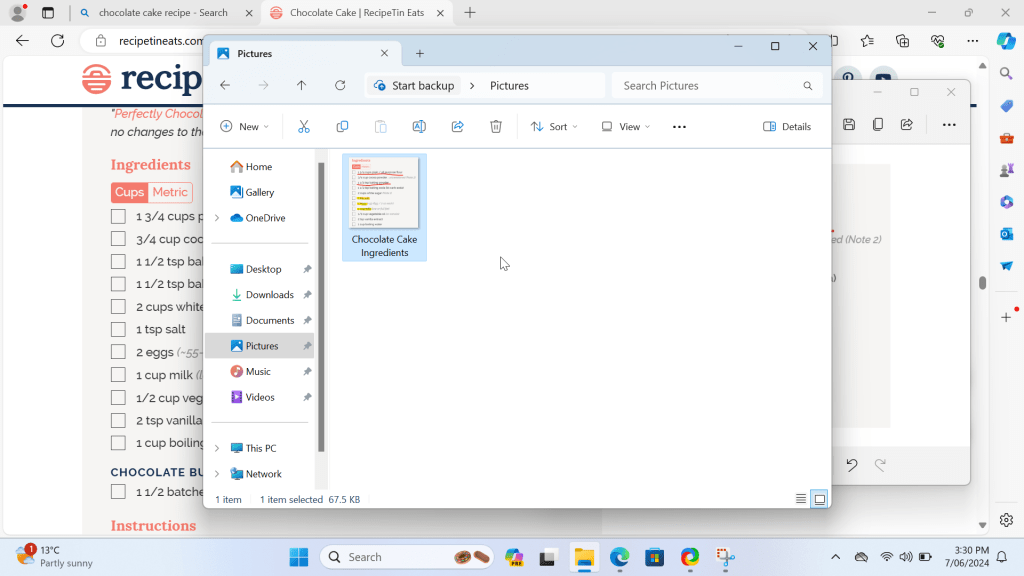
When you are ready to save, click the floppy disk icon in the top right of the window. This will open a new dialog window, prompting you to choose where to save your new screenshot. Navigate to where you would like to save the screenshot and rename the file appropriately, then click Save.
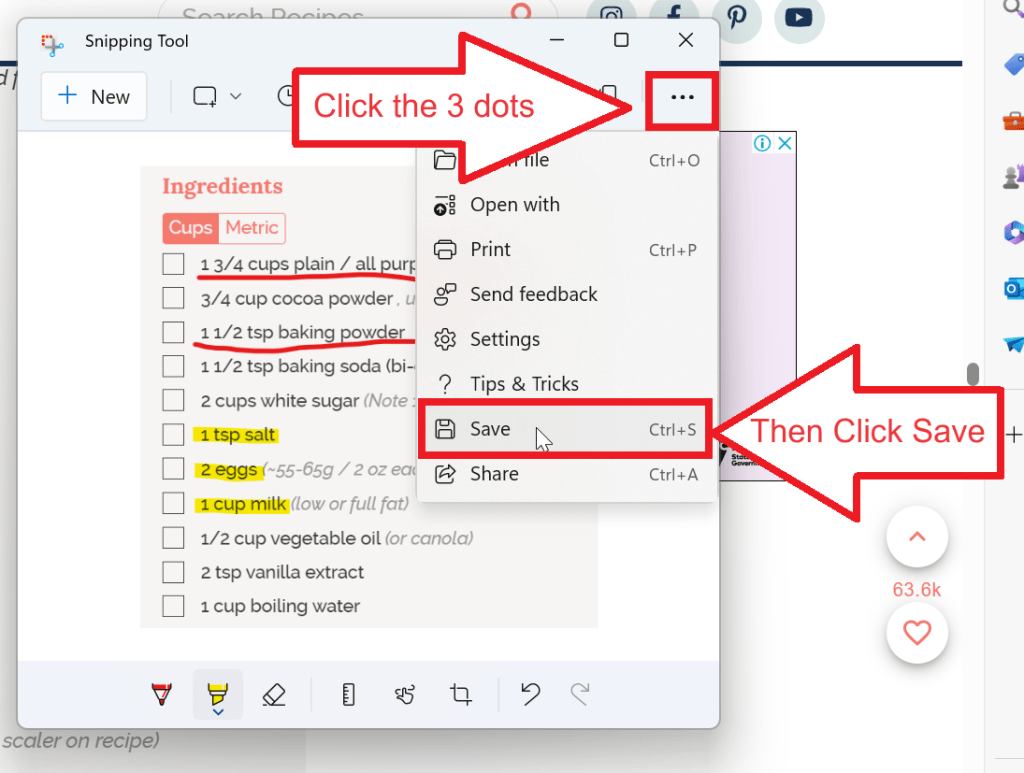
If your window is smaller, click the 3 dots in the top right of the window, then select Save.
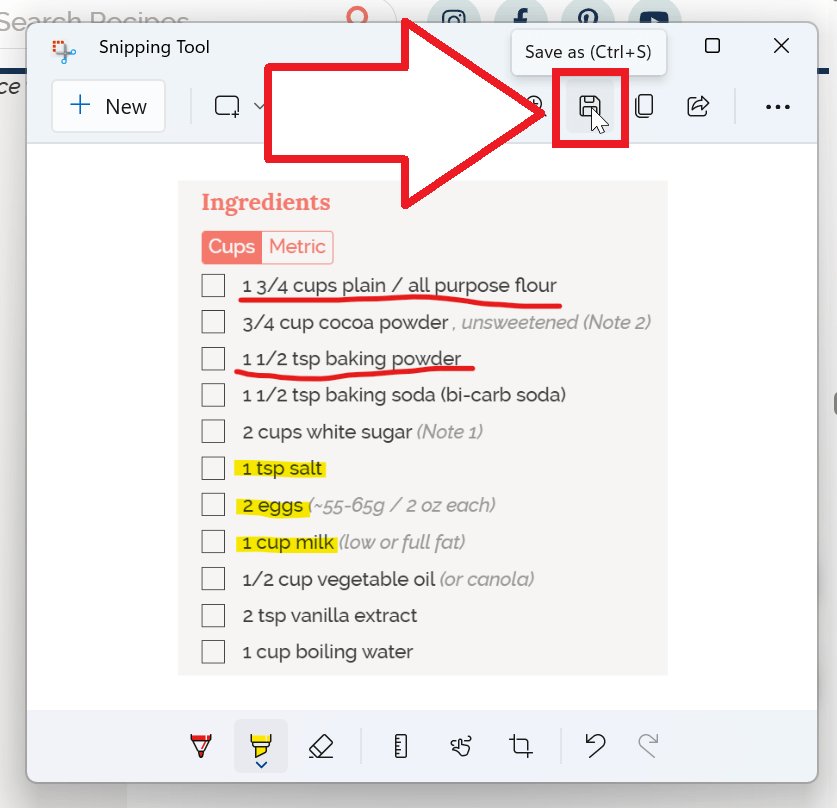
If your window is larger, click Save in the top right of the window.
The screenshot will now save as an image file (.png). You can now navigate to where you saved it and use it as you would any other image file.